
The Ultimate Guide: How to Choose the Right Drywall for Your Home
Gabriel Martins - Nov 13, 2024 - 6 min read
Pre-renovation, assess the state of your walls. Even cosmetic flaws can give rise to a host of issues down the line. Be sure to inspect the face of the wall for holes and cracks that might need repair before installing your drywall.
The key in good drywall installation is structural integrity. Spend your time and ensure that you are checking out any possible water damage, mold, or rot on your walls because it could ruin the structural stability of the walls. You are always better to get them solved now than later, which can ruin all your hard work of the renovation efforts.
For a professional and smooth finish in the finish it will be beneficial to remove some of the old wallpaper and paint on the walls which might already be present. By doing this, you avoid any irregularities or forming of air bubbles once done.
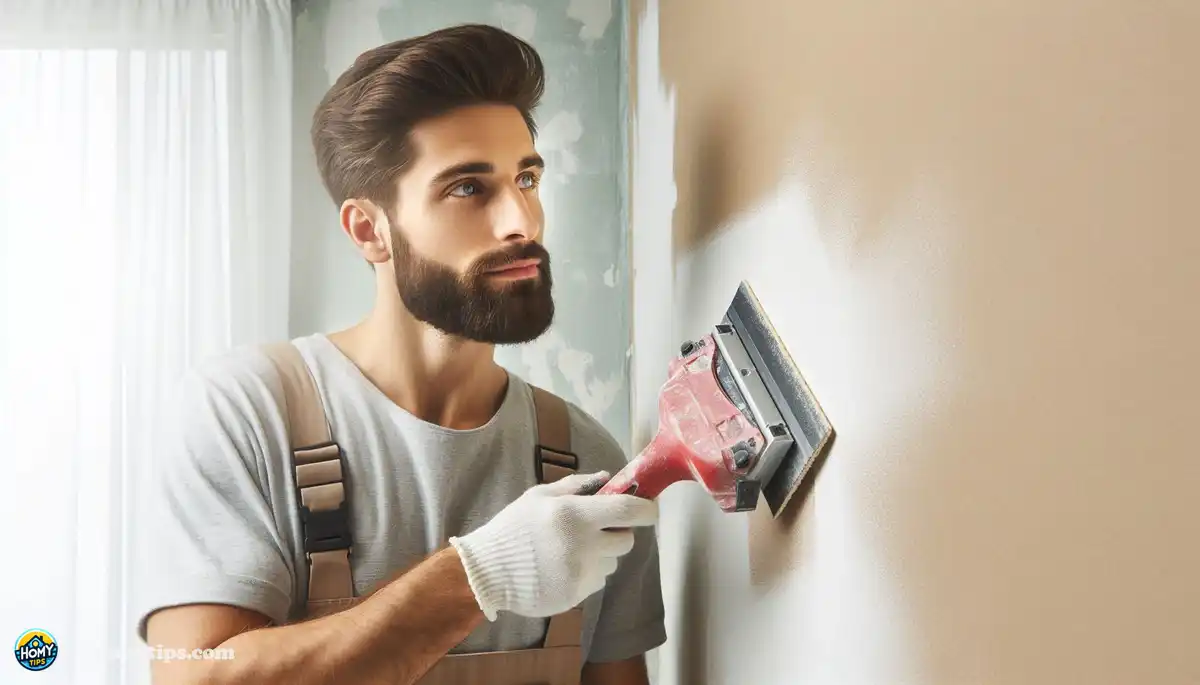
After stripping off any old finishes on the walls, it is time to sand out rough spots and clean the surface of any debris. Use fine-grit sandpaper for this process and remove debris or dust for optimal adhesion and flawless outcome.
First and foremost, you would want to have a collection of tools and materials before attempting to prepare your walls to drywall. The most important ones include a utility knife, tape measure, level, screwdriver, drywall saw, sanding block, and trowel. The right tool collection will make the installation easy and smooth.
Not all drywall is the same. When selecting drywall, think about thickness, moisture resistance, and fire rating. Measure your walls closely to buy just what you'll need.
Other than the drywalls, there are a couple of other things that may be needed to install them. These include dry wall screws, joint tape, joint compound, corner beads, and primer. That way, you are sure you will have a professional-grade finish that lasts for as long as you want.
Last but not the least, safety should not be forgotten. Always wear goggles and gloves when working with equipment and materials. In addition, observe all the rules set by the manufacturer or guidelines for safety to avoid an accident and injury.
Take away all the baseboards, trims, or other such elements that could interfere with installation. Employ a pry bar or hammer, turning an item loose from the wall but preventing damages on the walls and adjacent surfaces.
Before installing drywalls, one needs to identify studs in the walls. That will help you know how firmly to attach the drywall panels by marking where the stud is along the wall using a stud finder.
Next comes cutting and fitting the drywall panel to size. The dimensions of each wall have first to be taken before slicing through the drywall with the utility knife or a drywall saw. Always be sure to leave some kind of expansion gap from the drywall to the floor.
After the panels are cut to length, they may be nailed to the studs. Start by holding the first panel in place against the wall and fastening it to the studs using drywall screws. Keep the screws out in a fair pattern along the edges of the panel but avoid overdriving them-you don't want to start the finish for this joint through the drywall.
After the drywall panels are installed, it is time to tape and mud all of the joints in the panels for a seamless surface. Between each panel, joint tape is applied and smoothed out with a trowel to flatten the tape and work out any air bubbles or wrinkles. When tape is set in place, over these seams, apply joint compound to create a blend and feathering with the surrounding surface.
Allow that drier to completely dry the joint compound. While drying, smoothen out any rough areas of the walls using sandpaper. Finally, apply a primer coat to the walls. This will seal the surface of the walls and help them become a smooth base for painting or wallpapering. Choose a high-quality primer that is suitable to be used on drywall to maximize adhesion and coverage.
After installing drywall, reinstall any removed baseboards, trim, or other finishing touches. Use a nail gun or hammer and nails to install them where they are supposed to be, making sure they are aligned with edges of the walls for a clean look.
Make sure that you check all the details without any mistakes or retouching before it becomes the day to pack up and leave. It is important that you fix or change any accordingly so that everything becomes absolutely flawless and leaves you in good pride as you do in years to come. With careful preparation and attention, your walls are ready for anything that comes next.
Wall preparation for drywall application might seem rather intimidating, but with the right knowledge and equipment, you can do it easily in your home. Preparing your walls through inspection, gathering the right equipment, and following proper installation techniques will make for some excellent results that will last a long time. So roll up your sleeves, gather your supplies and get ready to transform with beautiful, new drywall.