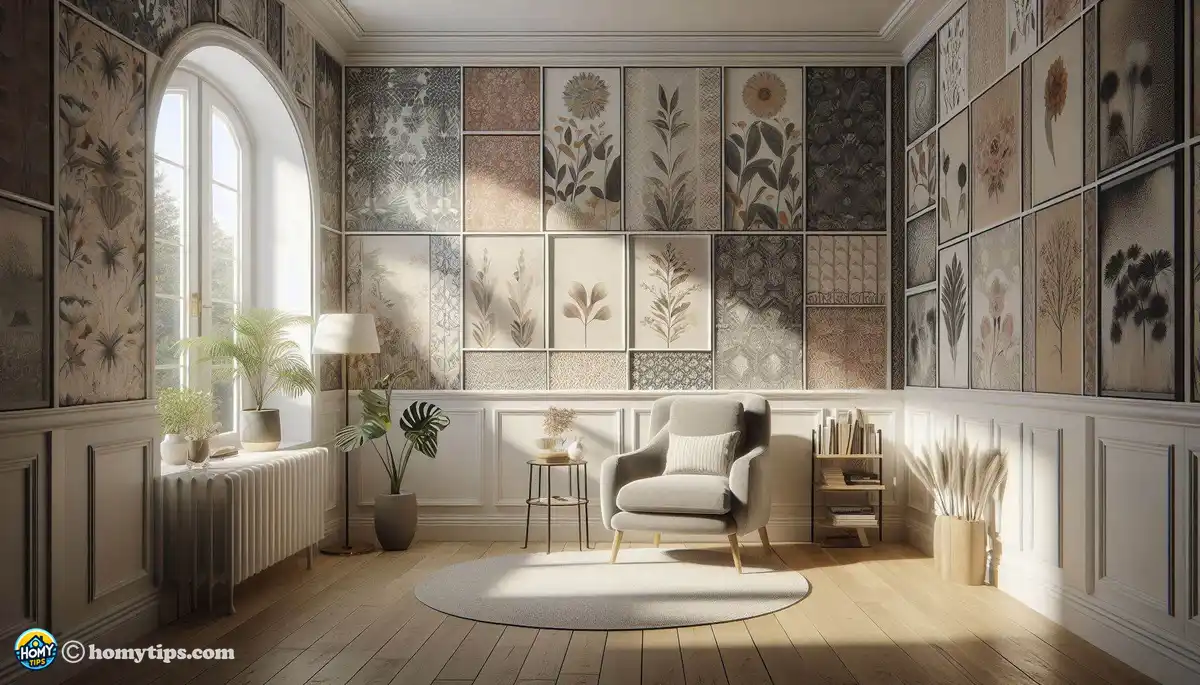
Unveiling Your Personal Style: Mastering Wallpaper Patterns for Your Home
Anastasia Sokolova - Nov 13, 2024 - 7 min read
You must assess your walls very well before you can apply wallpaper. Look for signs of damage like cracks, holes, or even moisture spots. These are all potential points of compromise in the adhesion of your wallpaper, and this may show unsightly after a while. Mark these areas to be repaired.
Next step to the preparation of walls should eliminate dust, dirt, or grease from the surfaces since these may interfere with perfect adhesion of wallpapers; use a damp cloth and thoroughly wipe down every inch of wall surfaces. Be more diligent where corners and baseboards come in as grime seems to collect there, ensure that the walls have all dried out before you do anything else.
Even the smallest imperfections will bleed through your wallpaper, so it's time to deal with any bumps or rough spots. Use a sanding block to sand down gently over the areas you have repaired or found damage. This is a boring step, but I promise it will be worth it when you get to the finish.
The concept of priming is definitely not the last thing to do or an afterthought, it is actually a step within wallpapering. A smooth uniform surface for your wallpapers when perfectly primed allows your wallpaper to adhere well with a longer durability. A primer also covers porous surfaces and seals them further hence it will not peel right away.
Not all primers are of the same grade; this is why choosing the correct one for your walls and wallpapers is quite essential. On unpainted drywalls, you will use a water-based primer. This closes out the surface and does not let moisture penetrate into the painted surface. In painting a wall that already is previously painted, then high quality acrylic primer must be utilized for the correct adhesion.
Once you have chosen your primer, it is time to get started. With a roller or a brush, apply a very thin, even coat over the entire surface of the walls. Work in small areas and blend the edges where necessary. Allow the primer to dry completely before doing anything else.
Before you start cutting on your prized wallpaper, ensure that you have taken measurements around your walls. You could use a tape measure and take note of the height and width of every wall. It is good to add several inches on every measurement, considering that you may require trimming to fit in various patterns.
Once you have your measurements time to lay out your workspace for cutting. Lay out your wallpaper flat on a clean dry surface that has no wrinkles or creases, using a straightedge with a sharp utility knife carefully cut the wallpaper to the size according to your measurement. Before making any cut double-check your measurements to save you from costly mistakes. Matching Patterns
If your wallpaper pattern is the same, match it carefully because that will make all the difference. You should lay your patterns side by side and trim before you hang to ensure everything lines up perfectly. You may need to recalculate your cuts in order to get a perfect match, and the effort taken in matching patterns is sure to pay off in the long run.
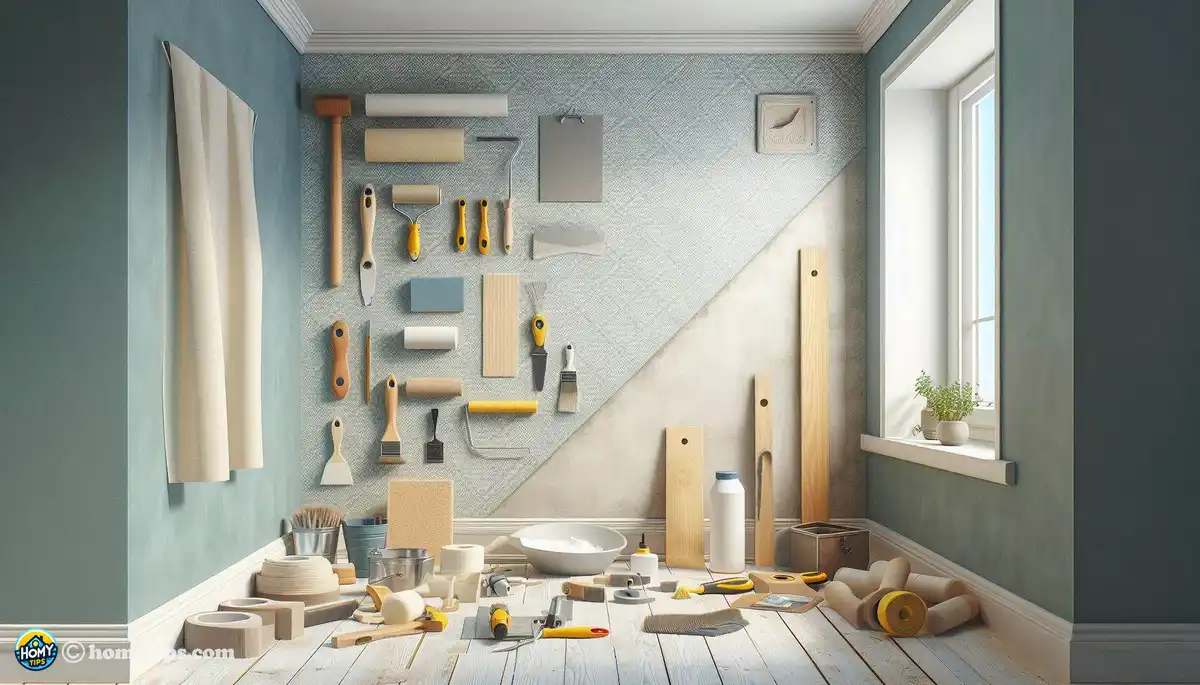
The adhesive is what makes or breaks the wallpapering project. For most wallpapers, you can use a pre-mixed, ready-to-use adhesive, but for heavier and specialty papers, like grasscloth or vinyl, it's worth taking the time to select a compatible adhesive. Preparing the Adhesive
If you're using the powdered adhesive, you may follow the manufacturer's guidelines in its mixing. The mixture would then be ready with smooth and lump-free consistency as made in a clean bucket when the adhesive powder and the water are combined together. Be careful not to mix too much as it tends to weaken the strength that the adhesive could bring as it bonds things. Waiting for a few minutes to become active before application
Finally, check the adhesion of the wallpaper by applying small scale on an insignificant section of your walls. There put a thin layer of the adhesive and push a paper scrap onto the surface to test the proper adhesion without bubbling or even lifting. Then you can proceed, but if these criteria do not apply you will need to adjust the mixture to the point desired.
How you start is crucial: when you're applying your wallpaper, make sure you place it correctly so that things do not go wrong easily. This is done usually at a corner or when placing it behind a door; here, imperfections and mismatches of your wallpaper's pattern will only be noticeable to the careful eye. And besides these, it will also help see to it that your wallpaper actually lines up properly with adjoining walls for that very finishing touch of a professional worker.
Now that you have decided where you would like your beginning point to be, let's get to work. Using your wallpaper brush or smoothing tool, push the first piece of your wallpaper firmly against the wall from top to bottom. Work out air bubbles or wrinkles without stretching the paper.
Continuing from the above; you will now match patterns of the wallpaper panels from one across the wall, where over-lap seams are demanded in your pattern close up and match those to avoid holes. Using a utility knife cutting off excess at the wall edges, careful not to damage the nearby walls nor the adjacent layers of paper.
With all the wallpaper panels installed, the extra from the edges of your wallpaper must be cut. For this, use a utility knife that is sharp enough and a straightedge along the top and bottom edges of the wallpaper; with great care, mark its contours against the wall edges. A tight bond finish can be achieved if the edges are run on the wallpaper smoother.
Now that you put the wallpaper, the mess cleans itself. Just go over the walls using damp cloths to clean for remnant adhesives and even paper crumbs. It actually takes a little while going through seams and edges that are always where the leftovers of adhesives normally tend to collect. Stand back and admire what's left after cleaning your walls! Allowing Time For Drying
Wait until the walls fully dry, then place back the furniture or hang decorations. The time needed can be 24-48 hours according to the used wallpaper and the adhesive used. Be patient, because it is one of those situations in which patience pays well: only then does the finish really last for long.
It might sound like wallpapering walls is a massive undertaking, but with some know-how and elbow grease, you'll be good to go and get great results. Now you can follow the steps I have outlined here, successfully transforming your space with this beautifully applied wallpaper. End